
Seven Mistakes Stores Make Installing Slotted Wall Shelves
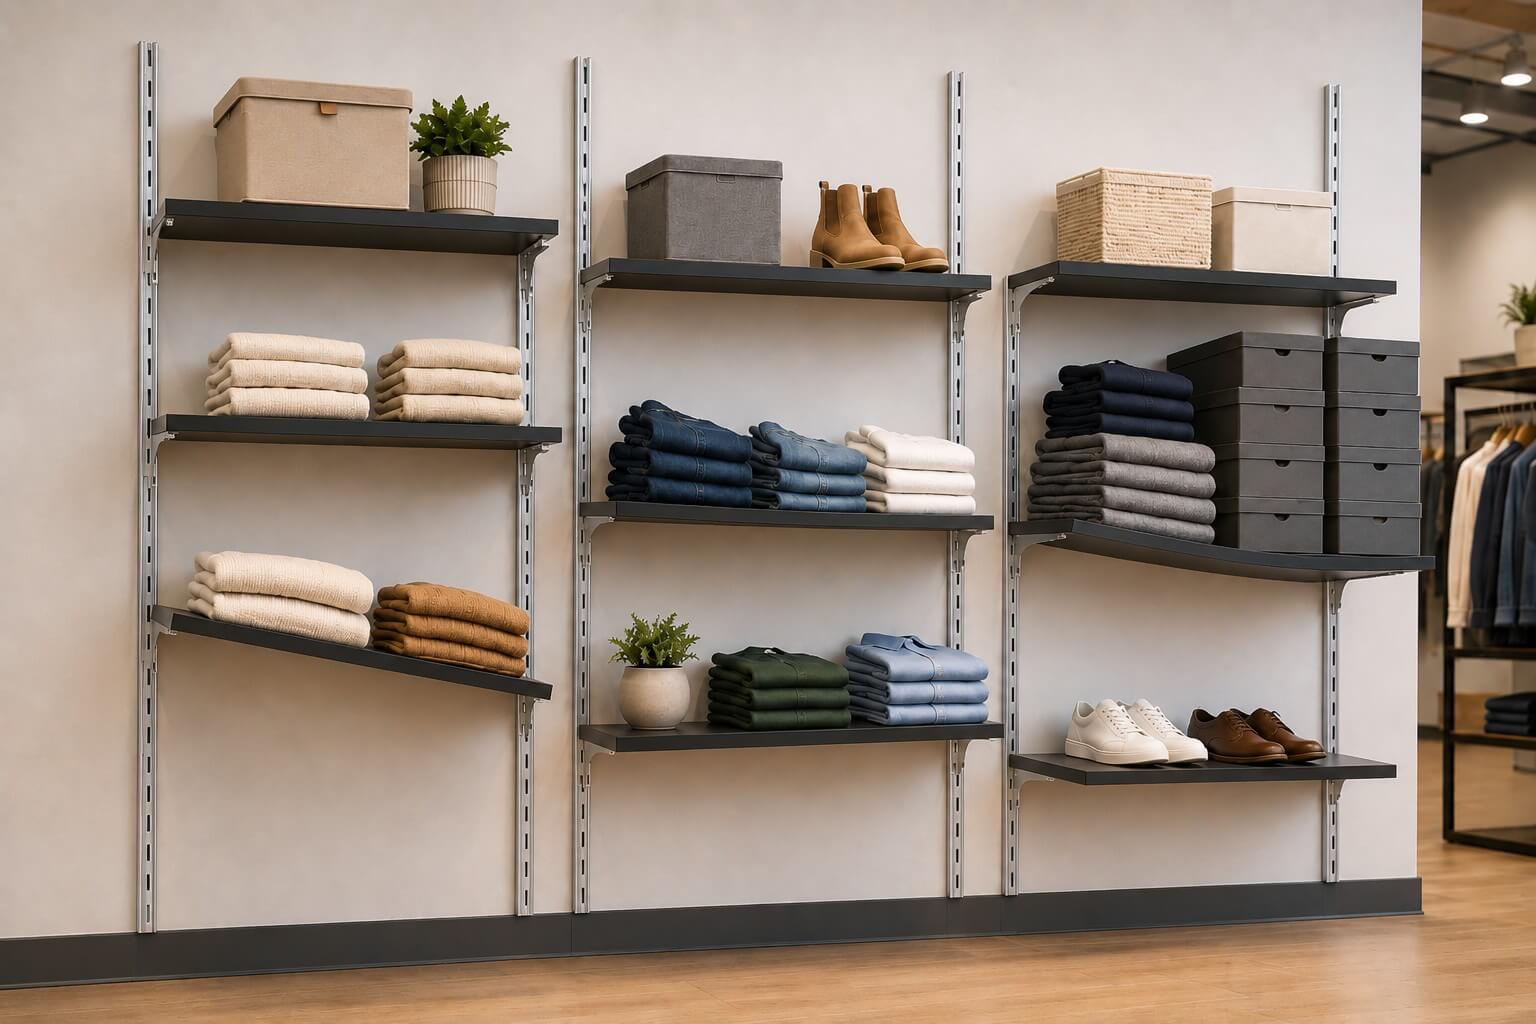
Slotted wall shelving looks simple to install. You mount the Slotted Standard, click in the brackets, set the board on top, and start merchandising. But over the years I have walked plenty of sales floors where the shelves leaned, sagged or pulled loose, and almost every time the problem traced back to the install, not the product. Below are the seven shelf installation mistakes I see most often, and how to avoid each one.
1. Mounting Standards That Are Not Level With Each Other
If one standard sits even a little higher than the next, every shelf set between them will tilt. The slots are spaced the same on each standard, so a starting height that is off carries through the whole run.
Set your first standard plumb and mark a level reference line across the wall before you mount the others. Match each standard to that line at the same slot, not just at the top of the metal. The top of one standard may be trimmed or seated differently than the next.
Quick check
After mounting, lock a single Shelf Bracket into the same numbered slot on two neighboring standards and rest a level across them. If the bubble is off, fix it now, before you load anything.
2. Putting Brackets in Mismatched Slots
Slotted standards have many slots, and it is easy to count down to the wrong one on one side. When the left bracket sits in slot ten and the right bracket sits in slot eleven, the shelf runs downhill.
Count from the same fixed point every time, usually the top slot. I tell people to seat all the brackets for one shelf, step back, and eyeball the line before adding the board. Catching a mismatched slot takes two seconds. Restacking a full shelf of product does not.
3. Choosing Brackets That Do Not Match the Standard or the Shelf Depth
Slotted standards, slatwall, and wire grid all use different bracket designs. A bracket built for one system will not lock correctly into another, and a bracket that is too short for your board leaves the front edge unsupported.
Match the bracket to both the wall system and the shelf depth. Browse the full Slotted Standards and Accessories to confirm you are pairing the right parts.
4. Skipping the Upturned Notch (or Ignoring It)
Most quality brackets have an upturned notch at the front tip. That little lip exists to secure the shelf when someone bumps into it or pulls product toward them.
If your boards are not seated correctly, they can creep forward over a busy weekend. Set each board so the front edge rests against the notch, not in front of it. It is a small detail that prevents a board from sliding off the brackets entirely.
5. Undersupporting Long Boards
Here is the answer to "How do I fix a shelf that sags after install?" Most of the time, the board spans too far between brackets for the weight it carries. A longer 48 x 12 inch Laminated Melamine Shelf loaded with heavy stock will bow in the middle if it only has support at the two ends.
In my years helping retailers, the sag complaint almost always came from someone running a long board on just two brackets, then loading it with dense merchandise like glassware or canned goods. Add a center bracket and a matching standard so the board is supported across its length, not only at the corners. If the bow is already there, unload the shelf, add the middle support, and the board will usually settle back over time. A board that is creased or permanently bowed should be replaced.
6. Mounting Standards Into Drywall With No Stud or Anchor
A slotted standard pulls down and out from the wall once it is loaded. Screws driven into bare drywall will not hold that load, and the whole run can break free, sometimes all at once.
Hit the studs whenever you can. Where a standard does not line up with a stud, use a wall anchor rated for the weight you plan to hang, and fasten through every mounting hole the standard provides, not just the top and bottom. Heavy retail loads are not the place to skip fasteners.
7. Loading Beyond What the Bracket Is Rated to Hold
Every bracket has a limit. Pack a shelf past that point and you risk a bent bracket, a damaged slot, or a board that drops. Weight ratings vary by bracket and by how the bracket seats into the standard, so do not assume.
Check the rating on the product page before you load. Our shelf brackets list their load limit on their listing, so confirm the number and keep your heaviest merchandise within it. When in doubt, spread weight across more brackets and shorter spans rather than one heavily loaded shelf.
A Simple Install Sequence That Avoids Most of These
When you put the steps in the right order, most of these mistakes never get a chance to happen:
- Snap a level reference line across the wall first.
- Mount the first standard plumb, into a stud or proper anchor.
- Set every other standard to the reference line at the same slot.
- Verify level with a bracket and a level across each pair before loading.
- Seat brackets in matching slots, counting from the top each time.
- Rest boards behind the upturned notch, with center support on long runs.
- Confirm bracket weight ratings, then load heaviest items lowest.
One last habit worth keeping: after the first week, walk the run and look for any board that has shifted or any bracket sitting loose in its slot. Catching a small shift early is far easier than recovering a collapsed shelf and the merchandise that came down with it.