
How to Size Shipping Boxes to the Products Your Store Ships
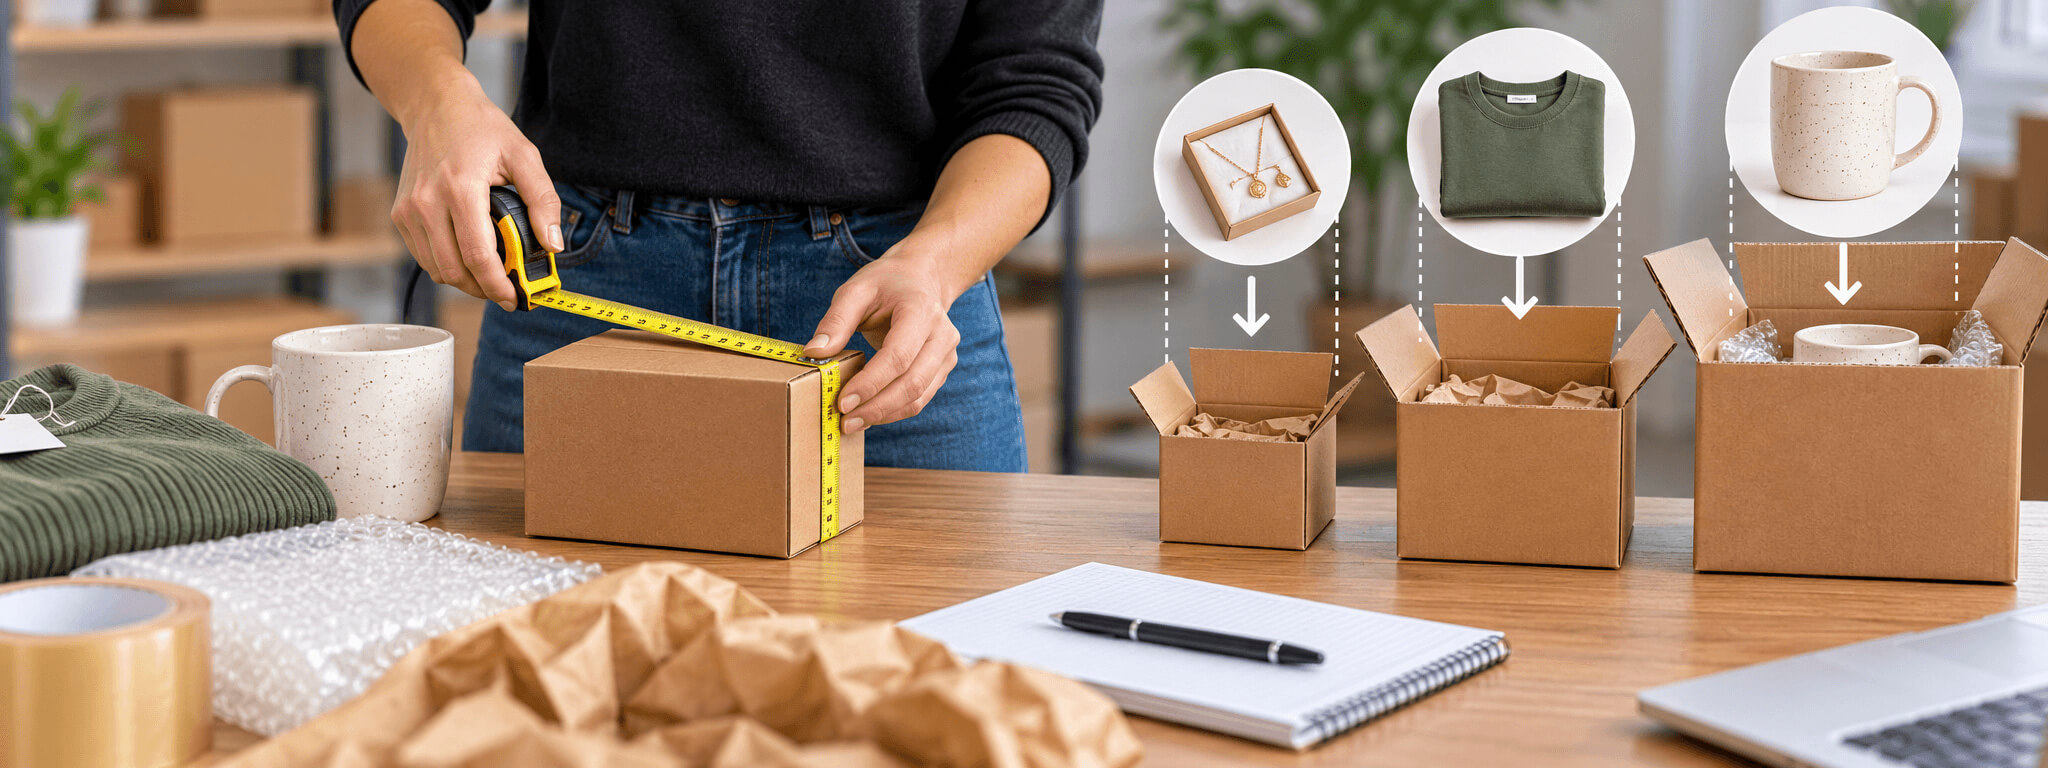
If your store ships orders, the box you choose does more than hold the product. It affects what you pay the carrier, how well the item survives the trip, and how your packaging looks when the customer opens it. Picking the right box size sounds simple, but a lot of retailers either grab whatever box is on hand or buy one size and force everything into it.
The most common problem I see is stores paying more than they need to because their boxes are too big for what goes inside. The good news is that fixing it does not take much more than a tape measure and a little planning.
Why Box Size Costs You Money
Carriers do not just charge by weight anymore. They charge by whichever is greater, actual weight or dimensional weight (often called dim weight). Dim weight is a pricing method based on how much space a package takes up in the truck, not how heavy it is.
That means a light product in an oversized box can be billed as if it weighs several pounds more than it actually does. If you ship a small, light item in a box that is twice the size it needs to be, you are paying to ship air.
Carriers calculate dim weight by multiplying length, width, and height and then dividing by a number set by that carrier. The exact divisor changes between carriers and account types, so check your carrier's current rate information rather than guessing. The takeaway stays the same: smaller box dimensions usually mean lower dim weight charges.
How to Measure a Product for the Right Box
Before you buy any box, measure your product the way the box will actually hold it. Here is the approach I give retailers who are starting from scratch.
- Measure the item in its packed position. If you ship a folded shirt, measure it folded. If you ship a boxed candle, measure the retail box, not the candle inside it.
- Record all three dimensions. Length, width, and height. Measure the longest point in each direction, including any part that sticks out.
- Account for protection. Add space on each side for the cushioning the item needs. A sturdy mug needs more than a soft scarf.
- Measure your bestsellers first. You do not need a box for every item on day one. Start with the products you ship most often, since those drive the bulk of your shipping costs.
When I worked with retailers in customer service, I always pushed them to measure their top five shipped items before ordering anything. Those five usually cover most of your volume, and sizing boxes to them gives you the biggest savings fast.
Group products into box tiers
Once you have measurements, group similar items together. Most stores can cover their whole catalog with three or four box sizes rather than a dozen. A small box for jewelry and accessories, a medium box for apparel, and a larger box for bundled or bulky orders will handle a surprising amount.
How Much Headroom to Leave for Void Fill
Void fill is the material that keeps your product from bouncing around inside the box: paper, bubble , foam, or air pillows. You want enough that the item cannot shift and hit the walls, but not so much that you are buying a box far larger than you need.
A good working rule is to leave a modest cushion of space on each side of the product, enough to pad the item without leaving it loose. Fragile items need more room for cushioning than soft or flexible goods.
- Soft goods (apparel, towels, blankets): little void fill needed. The product cushions itself. A snug box works well.
- Semi-fragile goods (boxed items, hard goods): a moderate cushion on each side.
- Fragile goods (glass, ceramics): the most cushioning, with padding on every side and no direct contact with the box walls.
The mistake I see most often with fragile items is the opposite of oversizing: retailers choose a box that fits the product snugly but leave no room for cushioning at all. The item then rides against the cardboard, and cardboard alone does not absorb a drop. Size the box so the product and its padding fit together, not just the bare product.
How to Avoid Oversized Boxes
Oversized boxes are the quiet budget drain. They raise your dim weight, require more void fill to keep items secure, and can actually increase damage because a loosely packed product has room to move.
Here are the habits that keep box sizes in check:
- Standardize on a few sizes. Fewer sizes means less guesswork at the packing table and easier reordering of shipping supplies.
- Match the box to the order, not the biggest order. Keep a small and a medium option within reach so staff do not default to the large box for everything.
- Consider flat packaging for flat items. Apparel and other soft goods often do not need a cube-shaped box at all.
- Reduce the box when you can. Scoring and folding a box down, or choosing one with an adjustable height, trims dim weight on shorter orders.
When a mailer beats a shipping carton
Not every order needs a corrugated shipping box. Soft, non-fragile items ship well in flat packaging that keeps dimensions low. For clothing orders, a flat shipping bag or mailer protects the garment and presents it nicely. Our Packing and Shipping Supplies selection includes options like 9 x 12 inch Shurtuff Poly Mailers that suit folded garments. Check the product page for exact dimensions so you can match them to your items.
A Quick Reference for Grouping Products
|
Product type |
Packing priority |
Box approach |
|
Jewelry, small accessories |
Secure small items, prevent loss |
Small box or mailer, minimal void fill |
|
Folded apparel |
Keep dimensions low |
Shipping Bag or Poly mailer |
|
Hard goods, boxed items |
Moderate cushioning |
Snug box with padding on each side |
|
Glass, ceramics, fragile |
Maximum protection |
Box with full cushioning on all sides |
|
Multi-item or bulky orders |
Strength and fit |
Larger box sized to the combined order |
Supplies That Support Good Box Sizing
Right-sizing boxes goes hand in hand with the rest of your packing station. Resealable bags keep small parts together inside a larger box so they do not rattle loose, and our resealable clear bags work well for loose items like jewelry. Rubber bands, tape, and protective wrap round out the station. Browse general retail supplies to stock the extras your packing process needs.
One last point worth remembering: your packing choices are a routine every member of your team repeats dozens of times a day. When you reduce the number of box sizes and label where each one goes, your staff pack faster and more consistently, and your shipping bill stops surprising you at the end of the month. Measure your top sellers, pick a small lineup of sizes that fit them with room for protection, and revisit it whenever your product mix changes.
Written by Kris Boettigheimer
Purchasing Assistant
Kris brings over 32 years of retail industry experience and more than 20 years at Store Supply Warehouse to every article he writes for storesupply.com. Since joining SSW in 2005, Kris has worked across multiple departments , including six years in Sales/Customer Service, where he helped independent retailers and small business owners find the right store fixtures, retail displays, and merchandising supplies to improve their store layouts and drive sales. For the past 15+ years in SSW's Purchasing Department, he has collaborated with suppliers, tracked market trends, and sourced products across all three Store Supply divisions. Today, Kris channels that hands-on experience into content that helps retailers enhance store presentation, discover new display solutions, and make smarter product decisions.