
The Craft Fair Vendor's Store Operations Checklist
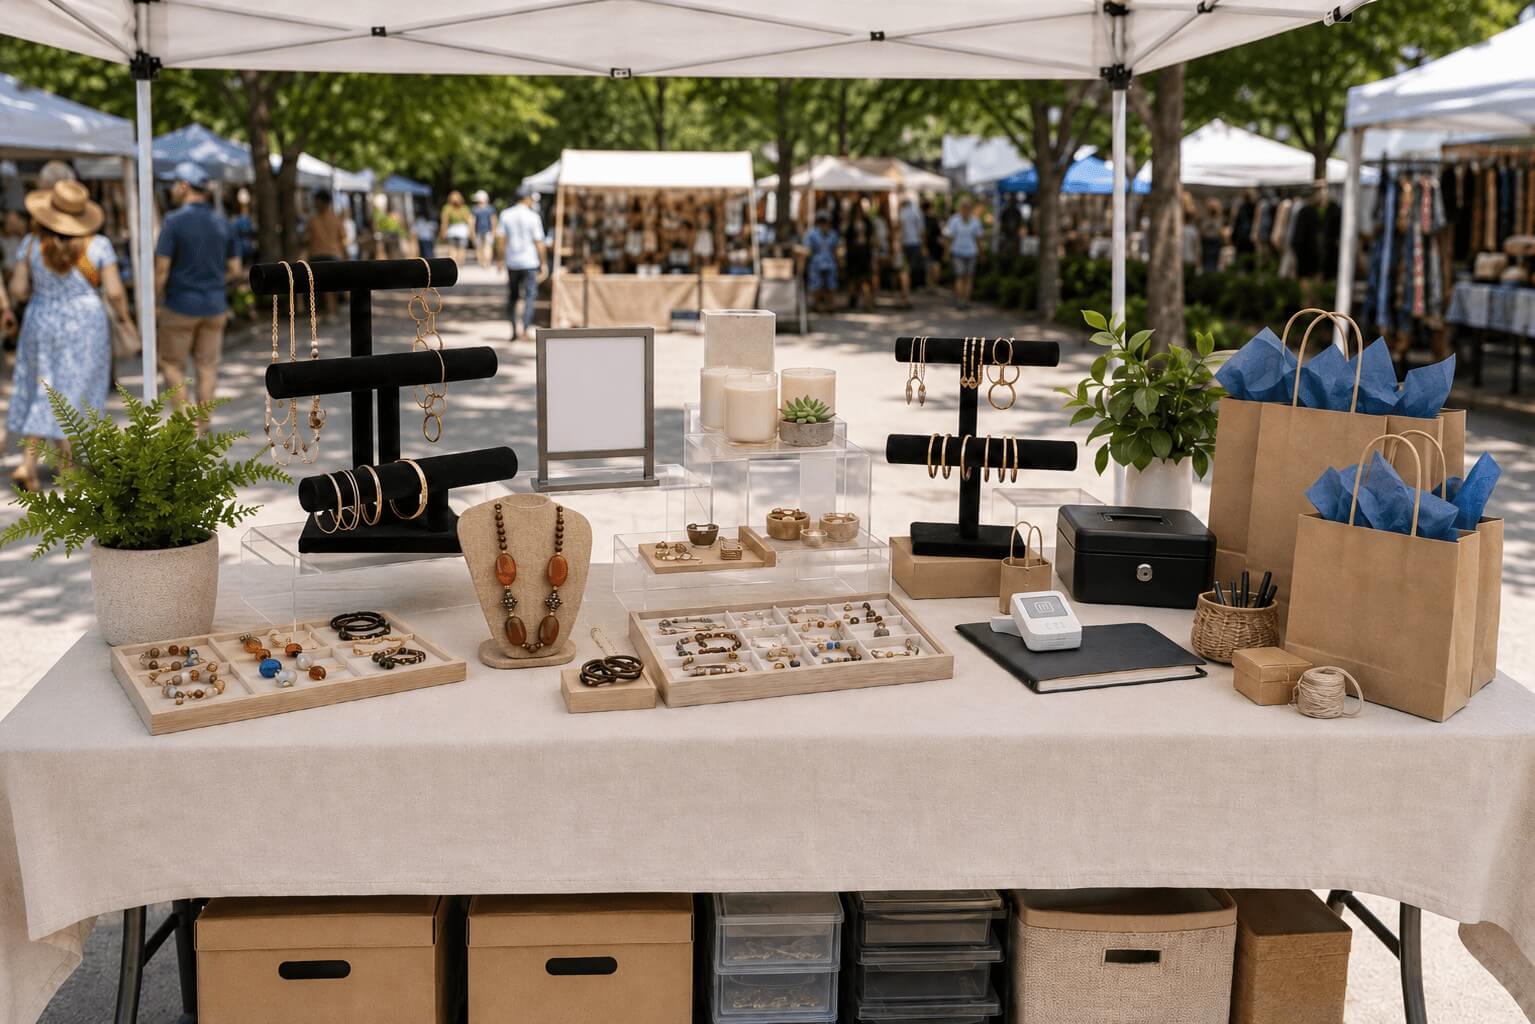
Running a successful craft fair booth requires more than great products. You need a solid operations system that covers everything from pre-event setup to post-event teardown. This comprehensive checklist helps craft fair vendors create a repeatable process that saves time and increases sales.
Pre-Event Preparation and Planning
Your success at craft fairs starts weeks before the actual event. Smart planning and preparation set the foundation for smooth operations on the day of the show.
Essential Documentation and Permits
Create a vendor operations binder with all necessary documents. Include your vendor permit, sales tax certificate, business license, and event confirmation. Keep copies of everything in case originals get lost or damaged during transport.
Research local sales tax requirements for each event location. Some cities require temporary vendor permits or special sales tax collection procedures for out-of-state vendors.
Inventory and Supply Management
Plan your inventory mix based on the event type and expected attendance. Pack 20-30% more merchandise than you think you'll need, as popular items sell faster than expected.
Organize merchandise by category and price point. Kraft apparel boxes work well for storing and transporting delicate items like jewelry or small crafts.
Display Setup and Visual Merchandising
Your display creates the first impression for potential customers. A well-organized, professional setup attracts more visitors and increases sales conversion rates.
Table Configuration and Height Variation
Standard craft fair tables are usually 6 feet long by 30 inches deep. Create visual interest by adding height variations using acrylic display risers or stackable platforms.
Position your most eye-catching items at the front corners of your table. These corner displays catch attention from both directions as people walk by your booth.
Signage and Price Display Strategy
Clear pricing eliminates customer confusion and reduces the number of price questions you need to answer. Use consistent signage throughout your display for a professional appearance.
Create category signs for different product groups. Retail Signs & Sign Holders help customers navigate your offerings quickly. Keep backup signage supplies in case wind or handling damages your displays.
Transaction Processing and Customer Service
Smooth transaction processing keeps lines moving and customers happy. Plan for various payment methods and have backup systems ready.
Payment Processing Setup
Accept multiple payment types including cash, credit cards, and mobile payments. Keep a cash box with small bills and coins for making change. Start each event with at least $100 in mixed denominations.
Position your payment processing area away from merchandise displays to prevent theft. Keep expensive items behind the table or in locked cases during busy periods.
Packaging and Customer Experience
Professional packaging adds value to purchases and creates positive last impressions. Plastic Merchandise Bags protect items and serve as mobile advertising when customers carry them around the event.
Choose packaging that matches your brand style. Kraft Paper Bags work well for eco-conscious brands, while Patterned Plastic Shopping Bags suit modern or trendy products.
Mid-Event Operations and Restocking
Successful vendors monitor their displays throughout the event and make adjustments based on customer behavior and sales patterns.
Inventory Monitoring and Restocking
Check inventory levels every 2-3 hours during busy periods. Restock popular items immediately to avoid empty spaces in your display. Empty spots signal to customers that you're running low on merchandise.
Keep backup inventory organized in containers under your table. Label storage boxes clearly so you can find replacement items quickly during busy periods.
Display Maintenance and Adjustment
Straighten displays every 30-45 minutes during peak hours. Customers handle merchandise and sometimes leave items in wrong locations. A tidy display looks more professional and helps customers find what they want.
Monitor which items attract the most attention and adjust placement accordingly. Move slow-selling items to more prominent positions and test different arrangements throughout the day.
Post-Event Teardown and Analysis
Efficient teardown saves time and protects your merchandise and displays for future events. Document what worked and what needs improvement for next time.
Systematic Packing Process
Pack merchandise in reverse order of how you set up. Start with small, valuable items and finish with large display pieces. Use resealable plastic bags to organize small components and hardware.
Take photos of successful display arrangements before packing up. These reference photos help you recreate effective setups at future events.
Sales Analysis and Inventory Assessment
Count remaining inventory and calculate sales totals while everything is still organized. Note which items sold well and which didn't move. This data guides future inventory decisions and pricing strategies.
Record event costs including booth fees, travel expenses, and time invested. Compare these costs to revenue to determine event profitability and decide whether to return next year.
Essential Supply Checklist for Craft Fair Vendors
Keep a master supply list to ensure you never forget critical items. Pack supplies in a dedicated container that travels to every event.
Display and Setup Supplies
- Tablecloths and clips to secure them
- Jewelry Displays & Jewelry Stands for height variation
- Price Tags and signage materials
- Extension cords and power strips if electricity is available
- Weights or sandbags for outdoor events
Transaction and Customer Service Supplies
- Cash box with starting change fund
- Credit card reader and backup payment processing
- 2- Part Carbonless Sales Book or mobile receipt printing
- Kraft Paper Bags and Wholesale Retail Packaging Supplies materials
- Business cards and promotional materials
Emergency and Backup Supplies
- First aid kit for minor cuts or injuries
- Weather protection like tarps or umbrellas
- Backup signage in case of damage
- Tool kit with basic hardware and fasteners
- Cleaning supplies for spills or dirt
Building Your Vendor Operations System
Successful craft fair vendors develop consistent routines that become second nature over time. Start with this basic framework and customize it based on your specific products and event types.
Document your setup process with photos and notes. Create laminated checklists that you can use at every event. The more systematic your approach, the more time you can spend focusing on customers instead of logistics.
Track your results across multiple events to identify patterns and opportunities for improvement. The most successful vendors treat their craft fair business like any other retail operation, with clear processes and measurable outcomes.
Written by Kris Boettigheimer
Purchasing Assistant
Kris brings over 32 years of retail industry experience and more than 20 years at Store Supply Warehouse to every article he writes for storesupply.com. Since joining SSW in 2005, Kris has worked across multiple departments — including six years in Sales/Customer Service, where he helped independent retailers and small business owners find the right store fixtures, retail displays, and merchandising supplies to improve their store layouts and drive sales. For the past 15+ years in SSW's Purchasing Department, he has collaborated with suppliers, tracked market trends, and sourced products across all three Store Supply divisions. Today, Kris channels that hands-on experience into content that helps retailers enhance store presentation, discover new display solutions, and make smarter product decisions.